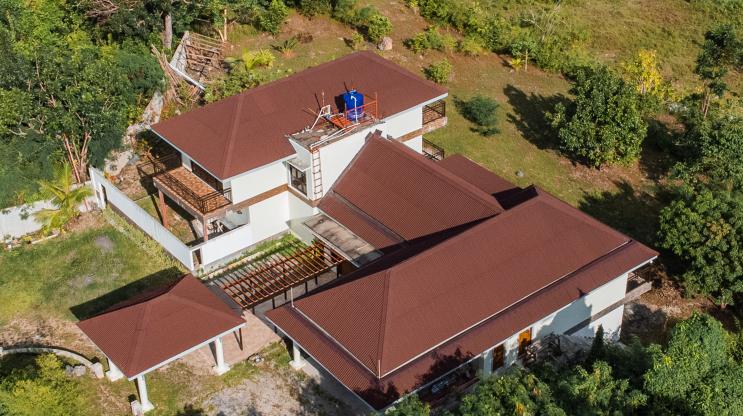
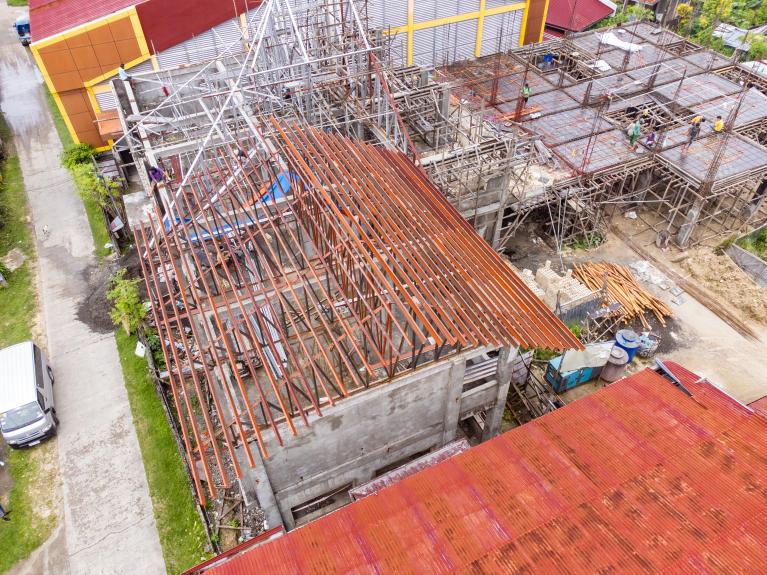
If you're seeking a durable, lightweight, and easy-to-install roofing solution, look no further than Onduline roofing. Onduline Philippines provides high-quality roofing products that cater to various building types, including residential, commercial, and agricultural structures. In this comprehensive step-by-step guide, we will walk you through the installation process of Onduline Classic roofing, ensuring your project is successful and long-lasting
Onduline: Lightweight Roofing Solutions

Onduline is a worldwide leader in lightweight roofing systems, offering high-quality products that are both durable and weather-resistant. Their roofing materials are made of cellulose fibers, bitumen, and resin, creating a lightweight yet strong product that is suitable for a wide range of buildings and structures.
Onduline products come in a range of sizes, shapes, and colors to suit different types of buildings, from homes to commercial and agricultural structures. With over 75 years of experience, Onduline has become a trusted brand for those seeking reliable and long-lasting roofing solutions.
In this article, we will share the installation guidelines for one of Onduline's most popular products: the Onduline Classic. This roofing system is designed to provide excellent protection against the elements while also being easy to install. Follow our step-by-step guide to learn how to install an Onduline Classic roof on your building or structure.
Tools and Materials You Will Need
Before you start installing your Onduline Classic roof, make sure you have the following tools and materials:
- Onduline Classic roofing sheets
- Onduline roofing screws
- Onduline ridge
- Onduline rubber filler
- Onduband
- Circular saw or handsaw
- Power drill
- Hammer
- Steel tape
- Chalk line
- Roofing knife
- Safety glasses
- Gloves
- Metal or Wood Purlins
Step-by-Step Guide to Installing Onduline Classic Roof
Check the structure of the roof and slope of at least 15 degrees
Step 1: Laying the Purlins
Start by fixing the bottom purlin and maintaining a spacing of 45cm between each purlin. Ensure that the purlins are in one straight line and parallel to each other.
Purlin spacing of 24cm
- Angle: 5-10 degrees
- Use 20 screws (8+4+4+4)
- Side overlap: 2 corrugations
- Top overlap: 32cm sheets
- Overhang: 7cm
Purlin spacing of 45cm
- Angle: 10 degrees up
- Use 14 screws (5+3+3+3)
- Side overlap: 1 corrugation
- Top overlap: 20cm
Step 2: Fixing of Sheets
To start fixing the Onduline roofing sheets to the roof, begin at the opposite end of the prevailing winds. For the second row, cut an Onduline sheet in half vertically and use it to lay the courses of sheets in a broken bond pattern. This installation technique helps reduce the overall thickness and ensures a more stable structure. Be sure to follow this pattern for every alternate row when installing Onduline roofing.
Step 3: Follow Overlapping Rules
To ensure that your roof remains waterproof over time, it is crucial to follow specific overlap guidelines.The required amount of roof overlap on the sides and ends of the Onduline sheets depends on the roof pitch. For roofs with a pitch above 15 degrees, here are the details:
- End overlap: 20 cm
- Side overlap: 1 corrugation
You should drill at least 14 screws per sheet.
When installing Onduline, it is crucial to follow the correct order and pattern since it is a special material.
Here are the screw requirements:
- Use 5 screws at each corrugation at the end overlap or eaves.
- Use 3 screws at the intermediate purlins of the sheet.
- Use 3 screws at the second and third intermediate purlins as well.
To ensure that your roof remains waterproof over time, it is essential to follow some rules. The required amount of overlap on the sides and ends of the roof depends on the pitch of the roof. If the roof pitch is below 15 degrees, these are the details;
- End overlap: 24 cm
- Side overlap: 2 corrugations
You should drill at least 20 screws per sheet.
When installing Onduline, it is crucial to follow the correct order and pattern since it is a special material.
Here are the screw requirements:
- Use 8 screws at each corrugation at the end overlap or eaves.
- Use 4 screws at the intermediate purlins of the sheet.
- Use 4 screws at the second and third intermediate purlins as well.
Step 4: Sheet Fixing
To ensure a secure fit, it's important to select the correct type of drill screw for your purlin.
- Once you have the right screw, place its head into the socket of your drive tool.
- Align the top side of the corrugation with the center of the purlin.
- Drive the screw through the top of the corrugation and into the purlin until the corrugation is properly stressed.
To avoid over-compressing the corrugation, we recommend using a drill with an adjustable torque setting and support for the drilling direction
And always make sure to use Onduline fasteners for sheet fixing.
With these tips, you can ensure a sturdy and reliable installation.
Step 5: Ridge Fixing
- If the distance between the last purlin and the ridge is greater than 15cm, add an extra purlin.
- Start the ridge at the opposite end of the roof from the prevailing winds.
- Maintain a minimum of 15 cm of overlap between ridges.
Step 6: Rubber Filler (Optional)
Our Corrugated Ventilated Filler is designed to prevent birds and other animals from entering the roof space through the eave and ridge.
Step 7: Repair Hip Before Attaching Ridge to Purlins
Repair the hip first, then attach the ridge to the purlins. If needed, cover and tidy up the ridges.
Step 8: Valleys
- The depth of the valley should be 7.5 cm, and the sheets should be cut parallel to the valley line.
- The overhang should be 4 cm.
- You have the option of using any metal brand for valley.
Step 9: Curved Roofs
Once the frame design is established, it's important to continuously set up the line courses to ensure the purlins are in the correct positions. For curved structures with a minimum radius of 6m, Onduline sheets are the recommended option.
Installing an Onduline Classic Roof: Step-by-Step Video Guide
Watching an installation guide video can be a great resource if you're planning to install an Onduline Classic roof. The video provides a step-by-step guide to the installation process, including tips on how to prepare the roof surface, install the roofing sheets, and finish the roof with ridge caps and end caps. By following this tutorial, you can ensure a successful and long-lasting installation of your Onduline Classic roof.
Onduline Classic: The Most Popular Roofing Solution
Onduline Classic is one of the most popular products offered by Onduline Philippines. It comes in a range of sizes and colors to suit different types of buildings. Additionally, it provides excellent protection against the elements while also being easy to install.
In conclusion, selecting the right roofing solution for your home or business involves careful consideration of factors like durability, weight, ease of installation, and cost-effectiveness. Onduline roofing stands out with its lightweight construction, durability, and simple installation process. By following this step-by-step guide, you can ensure a successful installation of your Onduline Classic roof.
Enquire with us today to learn more about our Onduline roofing products and how they can benefit your building or structure. We're happy to provide expert advice, answer any questions you may have, and provide a quote for your roofing project.
